Posts

Accessing a Private hosted application via Public/Bastion instance [AWS]

Image
Let's say you have an application which you have deployed in your Private subnet in AWS and you want to access that application via your Bastion instance / Browser. 1. Assuming that you already have deployed the application on one of your Private Subnet EC2 instance. 2. If deployed correctly, that application should be accessible via http://PRIVATE_IP:PORT/ but since your private instance doesn't have internet access and you cannot directly connect to it. We will use an alternative to it. So to achieve this we will set-up an SSH tunnel and then use it to connect to our application via any Browser. $ ssh -N -R LOCAL_PORT:REMOTE_APP_HOST:REMOTE_APP_PORT USER@LOCAL_HOST -i KEY.PEM Man entry for -R flag: -R [bind_address:]port:host:hostport -R [bind_address:]port:local_socket -R remote_socket:host:hostport -R remote_socket:local_socket Specifies that connections to the given TCP port or Unix socket on the remote (server) host are to be forwarded to the gi...
Introduction to GIT

We can do a lot with  git , before trying anything on PROD machines make sure to play with  git  on your local machine or test machine. Prerequisites => Install git. => Be familiar a bit with the command line. => Play with the repository. Install git => yum install git -y Configure user/email => git config --global user.name "Sunny Bhambhani" => git config --global user.email "bhambhani147@gmail.com" => git config -l user.name=Sunny Bhambhani user.email=bhambhani147@gmail.com Initializing a new git repo => pwd /root/git-test => git init Initialized empty Git repository in /root/git-test/.git/ A new hidden directory called .git will now be present in your project directory. This is where Git stores its database and configuration information so that it can track your project. Cloning a repository => pwd /root => git clone  https://github.com/bhambhani147/TT-Help.git Cloning into 'TT-H...

Installing Tomcat8 on RHEL6

Image
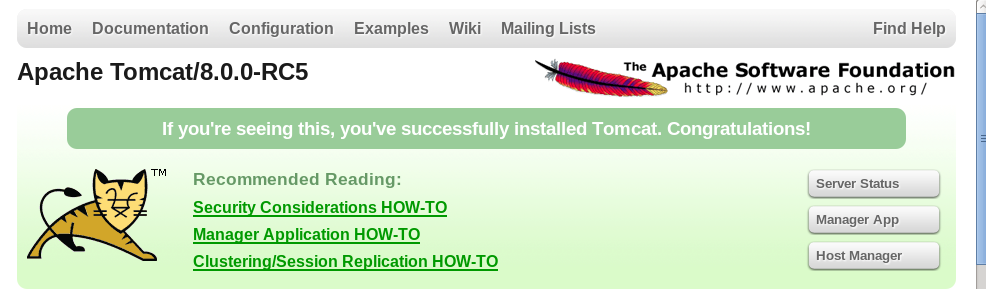
Apache-HTTP v/s Apache-Tomcat: The basic difference is Apache-Tomcat is written in Java but Apache-HTTP is written in C. Apart from this Apache-Tomcat is used as a webserver as well as to deploy Java Servlet's and JSP's [Java server pages] so basically Apache-Tomcat is used to serve Java Technologies whereas Apache-HTTP is used to serve HTTP. Prerequisites: Appropriate version of JRE [Java run-time environment] for instance jre1.7 is required to run tomcat-8[.X.X]. Tomcat binaries, for version 8 check this link . Sudo/Root access to the machine. Step1: Install JRE Download JRE from Java's official website. You can keep Java at any location but for my ease I have kept both Tomcat and Java in /opt. # cd /opt # cp jre-7u45-linux-x64.tar.gz . # tar -zxvf jre-7u45-linux-x64.tar.gz  The above command will create a folder with JRE binaries. In my case it was "jre1.7.0_45". Now set JRE_HOME [Required by Tomcat] and PATH. export JRE_HOME=/opt/jre1.7....

Some important commands

# Find CPU specifications cat /proc/cpuinfo # System information via uname: uname -r [Kernel release] uname -a [All information about the kernal] uname -s [Kernel name] uname -m [Machine hw name] uname -p [Processor type] uname -o [OS] uname -n [Node name] # Running kernel and compiler: cat /proc/version # X server version: X -showconfig or Xorg -version # List of Kernel modules loaded: lsmod # Memory and swap information cat /proc/meminfo free free -m [in MB] # Hard drives information: fdisk -l # Free/used drive space or mount points: df -h # Distribution ?? cat /etc/issue cat /etc/issue.net # Finding or locating files find locate which whereis # Log messages as they happen: tail -f /var/log/messages (shows last 10 lines). # What processes are running [concise information]: ps -A ps -A | grep <PROCESS_NAME/PID> [For specific process] # What process are running [Brief information]: ps -ef ps -ef | grep -i <PROCESS_NAME/PID...

Ways of searching a disk/hdd in RHEL6

There must be an entry in /sys/block/XXX # ls -lrt /sys/block/ /proc/partitions ==> cat /proc/partitions  major minor  #blocks  name    8        0   15728640 sda    8        1     512000 sda1    8        2   15215616 sda2    8       16    2097152 sdb  253        0   13148160 dm-0  253        1    2064384 dm-1 To list all the disk in the machine ==> fdisk -l # fdisk -l /dev/?d? To avoid all the dm devices. # fdisk -l 2>/dev/null | grep "Disk \/" Disk /dev/sda: 16.1 GB, 16106127360 bytes Disk /dev/sdb: 2147 MB, 2147483648 bytes Disk /dev/mapper/VolGroup-lv_root: 13.5 GB, 13463715840 bytes Disk /dev/mapper/VolGroup-lv_swap: 2113 MB, 2113929216 bytes # lsblk NAME                   ...

NIC Bonding/Teaming in RHEL6

NIC [network interface card] bonding is a term used to describe a way to increase available bandwidth.  Bonding is nothing but Linux kernel feature[aka BONDING] that allows to aggregate multiple like interfaces (such as eth0, eth1, eth2 etc) into a single virtual link. This is done to get higher data rates and as well as link failover. NIC bonding may also be called as NIC Teaming. Here we will create a bond called bond0 , number of ether-net's used are two [ eth0 and eth1 ]. Step 1: Create a bond0 file==> # vim /etc/sysconfig/network-scripts/ifcfg-bond0 Append the file with below information and save the file==> DEVICE=bond0 IPADDR=192.168.57.150 NETMASK=255.255.255.0 USERCTL=no BOOTPROTO=none ONBOOT=yes Note: IP and Netmask needs to be replaced as per your network configuration. Step 2:  Edit ifcfg-eth0 ==> # vim /etc/sysconfig/network-scripts/ifcfg-eth0  Append the details as follows ==>  DEVICE=eth0 ONBOOT=yes ...

Configuration and setting-up of AIDE on RHEL6

AIDE is a powerful package for checking integrity of files on a machine/system. Prerequisites : Just aide package. [root@sunny ~]# yum install aide -y Loaded plugins: refresh-packagekit, rhnplugin This system is not registered with RHN.                                                                         RHN support will be disabled. Setting up Install Process Resolving Dependencies --> Running transaction check ---> Package aide.x86_64 0:0.14-3.el6 set to be updated --> Finished Dependency Resolution Dependencies Resolved ====================================================================...