Installing Tomcat8 on RHEL6
Apache-HTTP v/s Apache-Tomcat:
The basic difference is Apache-Tomcat is written in Java but Apache-HTTP is written in C. Apart from this Apache-Tomcat is used as a webserver as well as to deploy Java Servlet's and JSP's [Java server pages] so basically Apache-Tomcat is used to serve Java Technologies whereas Apache-HTTP is used to serve HTTP.
Prerequisites:
Step1: Install JRE
Step4: How to run this Tomcat as a service [ADDITIONAL/OPTIONAL STEP]
The basic difference is Apache-Tomcat is written in Java but Apache-HTTP is written in C. Apart from this Apache-Tomcat is used as a webserver as well as to deploy Java Servlet's and JSP's [Java server pages] so basically Apache-Tomcat is used to serve Java Technologies whereas Apache-HTTP is used to serve HTTP.
Prerequisites:
- Appropriate version of JRE [Java run-time environment] for instance jre1.7 is required to run tomcat-8[.X.X].
- Tomcat binaries, for version 8 check this link.
- Sudo/Root access to the machine.
Step1: Install JRE
- Download JRE from Java's official website.
- You can keep Java at any location but for my ease I have kept both Tomcat and Java in /opt.
- # cd /opt
- # cp jre-7u45-linux-x64.tar.gz .
- # tar -zxvf jre-7u45-linux-x64.tar.gz
- The above command will create a folder with JRE binaries. In my case it was "jre1.7.0_45".
- Now set JRE_HOME [Required by Tomcat] and PATH.
- export JRE_HOME=/opt/jre1.7.0_45
- export PATH=$JRE_HOME/bin:$PATH
- To get this path available to other users we need to get this added in ~/.bashrc or ~/.bash_profile in user's home directory.
Step2: Install Tomcat
- Download the appropriate package [For v8 hyperlink is given above].
- # cd /opt
- # cp apache-tomcat-8.0.0-RC5.tar.gz .
- # tar -zxvf apache-tomcat-8.0.0-RC5.tar.gz
- The above command will create a folder with Tomcat binaries. In my case it was "apache-tomcat-8.0.0-RC5".
- That's it, now you can start your Tomcat via the startup.sh script present in bin directory.
- For instance, my bin directory resides in "/opt/apache-tomcat-8.0.0-RC5/bin" go into this directory and fire "./startup.sh". You will something like given below:
- Using CATALINA_BASE: /opt/apache-tomcat-8.0.0-RC5
- Using CATALINA_HOME: /opt/apache-tomcat-8.0.0-RC5
- Using CATALINA_TMPDIR: /opt/apache-tomcat-8.0.0-RC5/temp
- Using JRE_HOME: /opt/jre1.7.0_45
- Using CLASSPATH: /opt/apache-tomcat-8.0.0-RC5/bin/bootstrap.jar:/opt/tomcat/bin/tomcat-juli.jar
There are other scripts also available in that bin directory such as:
- version.sh ==> This shows version of Tomcat being installed and some information about the OS.
- shutdown.sh ==> For shutting down the Tomcat service.
- startup.sh ==> For starting the Tomcat service.
- configtest.sh ==> For checking the configuration etc etc....
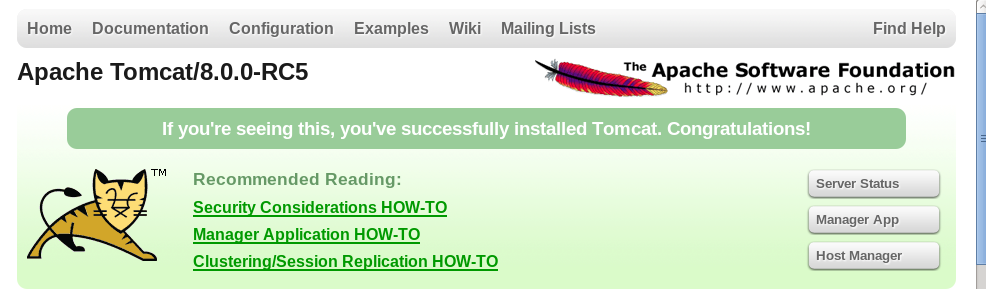
Step3: Test your Tomcat server
- Open firefox.
- In the address bar type "localhost:8080" or "DOMAIN:8080" or "IP:8080" and press enter.
- You will see something like given below:
Step4: How to run this Tomcat as a service [ADDITIONAL/OPTIONAL STEP]
- # cd /etc/init.d/
- # vim tomcatd
- Add the following script in this tomcatd file:
- JRE_HOME=/opt/jre1.7.0_45
- export JRE_HOME
- PATH=$JRE_HOME/bin:$PATH
- export PATH
- CATALINA_HOME=/opt/apache-tomcat-8.0.0-RC5
- case $1 in
- start)
- sh $CATALINA_HOME/bin/startup.sh
- ;;
- stop)
- sh $CATALINA_HOME/bin/shutdown.sh
- ;;
- restart)
- sh $CATALINA_HOME/bin/shutdown.sh
- sh $CATALINA_HOME/bin/startup.sh
- ;;
- esac
- exit 0
- Save and exit from the file via :wq option.
- NOTE: Change JRE_HOME and CATALINA_HOME as per your requirement.
- # chmod 755 tomcatd [Change its permissions].
- Now test your script via:
- # service tomcatd start
- # service tomcatd stop
- # service tomcatd restart
WHERE TO CHECK FOR LOGS:
- # cd $CATALINA_HOME/logs
- # tail -f catalina.out

It is amazing and wonderful to visit your site.Thanks for sharing this information,this is useful to me...
ReplyDeletehttp://chennaitraining.in/building-estimation-and-costing-training-in-chennai/
http://chennaitraining.in/embedded-systems-training-in-chennai/
http://chennaitraining.in/vlsi-training-in-chennai/
http://chennaitraining.in/matlab-training-in-chennai/
http://chennaitraining.in/iot-training-in-chennai/